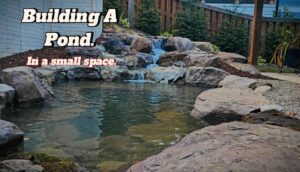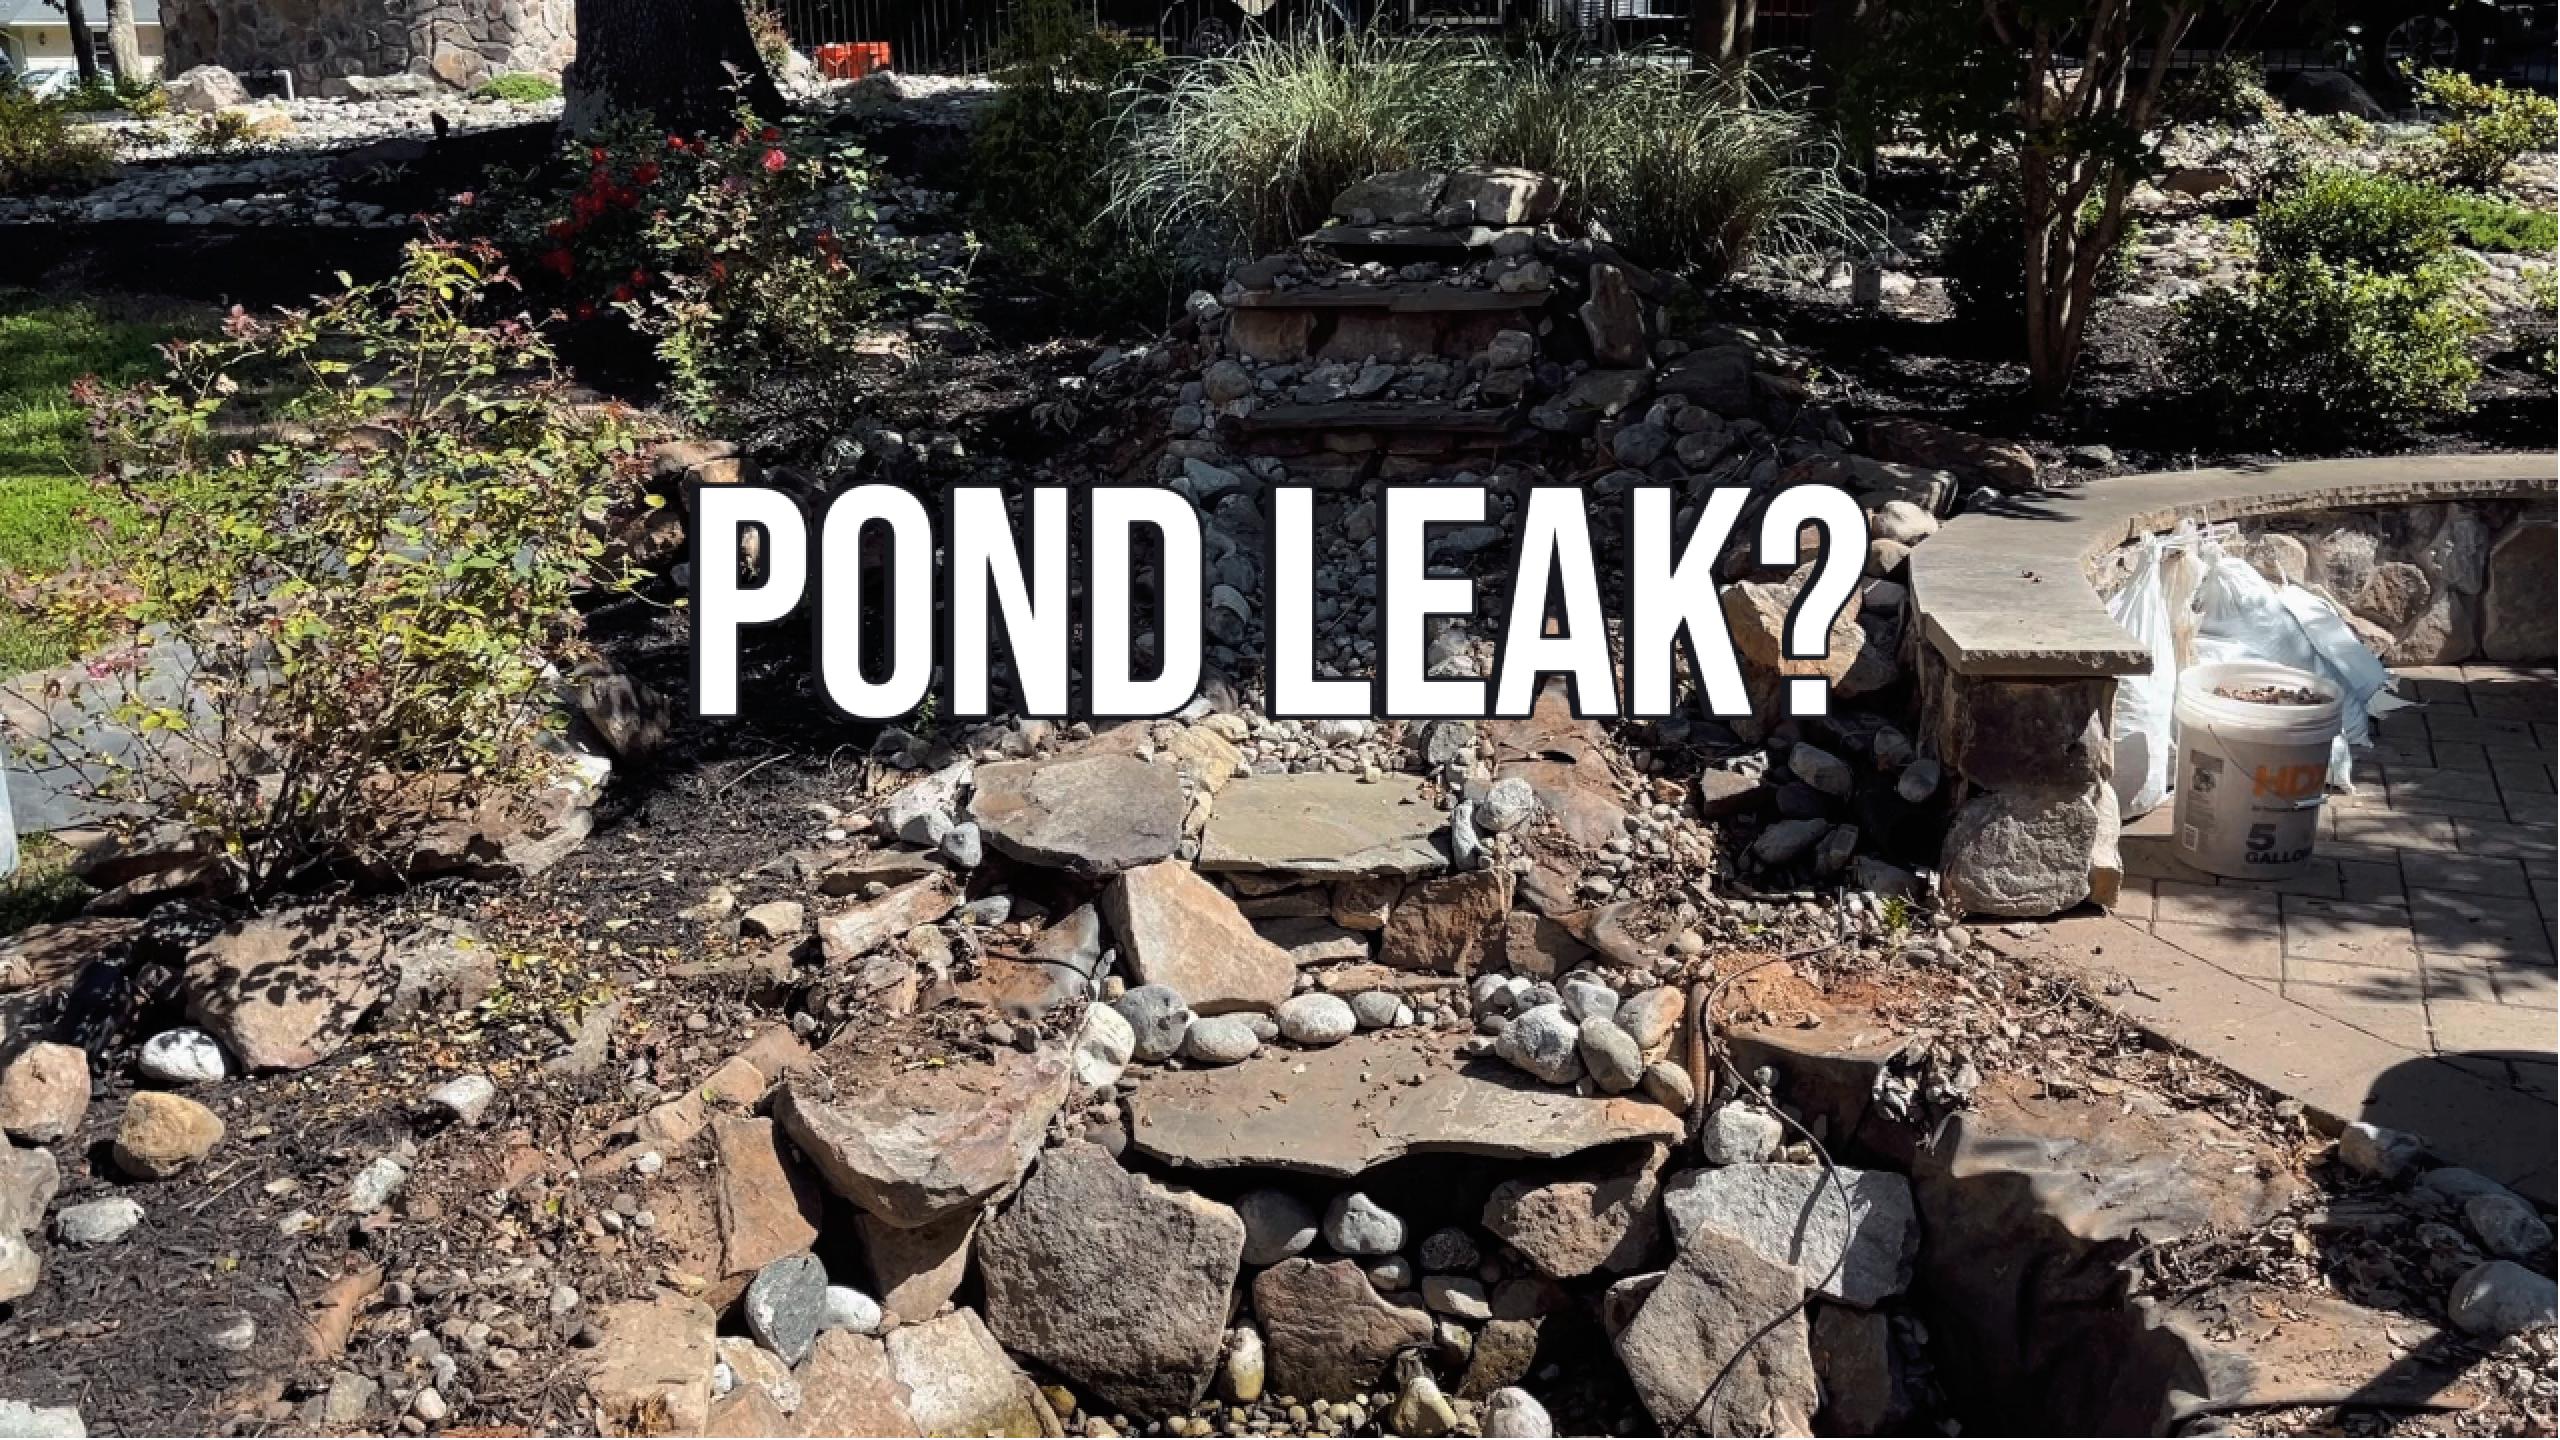
Is Your Pond Losing Water? Here’s What to Do
If you’ve noticed your pond water level dropping and you’re not sure why, don’t worry—most pond leaks are fixable.
The key to solving a pond leak is determining where it’s coming from—the pond liner, waterfall, or plumbing. This guide will walk you through a step-by-step process to identify and fix the issue.
Before You Start:
- Take notes and photos of the water loss for reference. You can use these to compare water levels day by day
Quick Pond Leak Troubleshooting Table
Use this chart to quickly identify where your pond might be leaking before diving into the full guide.
| Symptoms | Likely Leak Location | Next Step |
| Water level drops only when the pump is running | Waterfall or plumbing leak | Turn off the pump for 24 hours to confirm |
| Water level drops even when the pump is off | Pond liner or skimmer seal | Let the pond sit for 24 hours and check where the water stops |
| Water level holds steady after dropping | Leak is just above that level | Check liner or skimmer at that depth |
Step 1: Identify the Type of Leak
Before making repairs, you first need to determine if the leak is coming from the pond, waterfall, or plumbing.
Pond Leaks (Liner or Skimmer Seal Issues)
- Liner Leaks – Punctures in the liner will cause leaks. If your pond has rocks and gravel covering the liner, finding these holes is difficult—sometimes requiring a full liner replacement.
- Skimmer Seal Leaks – Over time, the skimmer faceplate screws can corrode, breaking the watertight seal. This is very common on older ponds.
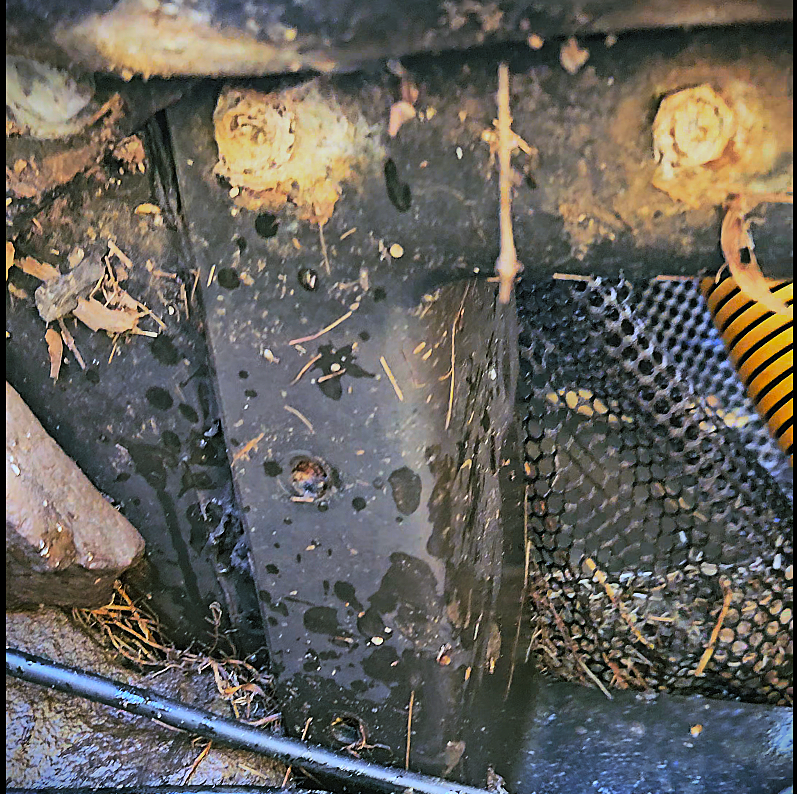
How to Fix a Skimmer Seal Leak:
- Remove the skimmer faceplate.
- Patch old screw holes.
- Clean the liner and skimmer face.
- Reseal with new silicone and stainless steel hardware.
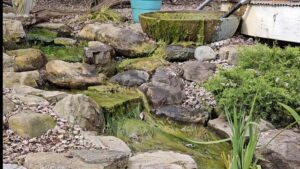
Waterfall Leaks (Most Common Type of Pond Leak!)
- Low Liner Edges – Water can spill over the liner edge if the liner has settled over time or if leaves and debris have created a dam that redirects water. These leaks are often fast and easy to fix.
- Biofalls Seal Leaks – Like the pond skimmer, the biofalls filter screws can corrode, causing leaks. The fix is to reseal the biofalls, just like you would with the skimmer. Often the biofalls and skimmer need to be resealed together.
- Holes in the Waterfall Liner – If there’s a hole in the liner, it’s easy to fix if found, but if the liner is covered by rocks and riverstone, it may require a full waterfall rebuild.
Plumbing Leaks (Least Common, But Possible!)
- Caused by:
- Holes in the pipe from shovels, roots, or termites.
- Burst plumbing fittings due to improper winterization.
- Loose connections where plumbing meets the biofalls or skimmer.
Step 2: Finding Out Where the Leak Is
1. Measure Water Loss
Before troubleshooting, track how much water is being lost per day. This will help confirm if your repairs are working.
2. Test If the Leak is in the Pond or Waterfall
- Fill the pond to its normal full capacity.
- Turn off the waterfall pump. (This isolates whether the issue is in the pond or waterfall.)
- If adding a large amount of water, use a dechlorinator (but don’t exceed manufacturer guidelines).
- If you have fish, add an aerator to keep oxygen levels up while the pump is off.
- Wait 24 hours and check the water level.
Results:
- If the water level does not drop, then the leak is in the waterfall or plumbing.
- If the water level continues to drop, then the leak is in the pond liner or skimmer seal.
Step 3: Fixing the Leak
If the Leak is in the Pond:
- Monitor how far the water drops every 12–24 hours until it stabilizes.
- If the water level stabilizes just below the skimmer opening, the skimmer seal is likely the issue.
- If the water drops well below the skimmer opening, there is likely a hole in the liner.
- If your pond has stacked rocks covering the liner, finding the leak may require a full rebuild with a new liner.
If the Leak is in the Waterfall or Plumbing:
- Turn the waterfall back on and inspect the edges of the liner for leaks.
- Check for wet or damp areas near the edge of the waterfall liner—these often indicate a leak.
- Inspect the biofalls seal. If screws are corroded, resealing may be necessary.
Step 4: Testing for a Plumbing Leak
If you still haven’t found the leak, test the plumbing:
- Close the check valve or ball valve in the plumbing line (many ponds already have one).
- Fill the biofalls filter with water.
- Wait 24 hours and check the water level.
Results:
- If the water level holds, the plumbing is fine, and the leak is in the waterfall liner.
- If the water level drops, the plumbing has a leak.
Signs of a plumbing leak:
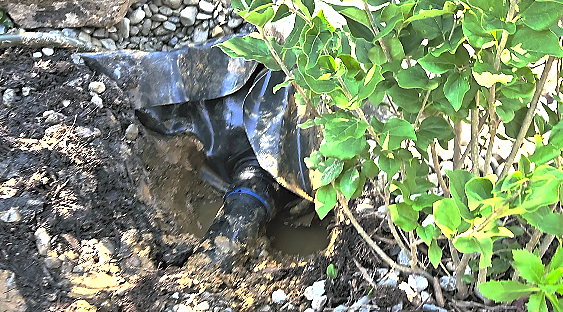
- You notice wet or damp spots near underground pipes.
- Dig carefully to locate the pipe—if damaged, patch or replace it.
Final Thoughts: What to Do Next
- The more troubleshooting you do yourself, the better. This means fewer service calls and lower costs.
- Before calling a professional, try to determine if the leak is in the pond, waterfall, or plumbing.
- If you’re stuck, send us photos or videos—we’ll help you figure out your next steps.
Need Professional Help?
If you still can’t find the leak, don’t worry—we’ve seen it all. Send us a few photos or a short video, and we’ll help you figure out the next steps. If needed, we can schedule an on-site leak detection visit to get your pond back in top shape.
How do we build a pond that won’t leak from scratch? Check out our 13 Must-Know Steps to Building a Backyard Pond Like a Pro